


![How to Make an Embroidered Hat Mockup From Your Logo [2026]](https://dynamicmockups.com/wp-content/uploads/2026/08/embroidered-hat-mockup-cover-768x403.png) Embroidery
Embroidery
On this page
How to Make an Embroidery Mockup Online in 2026 (Quick Answer)
An embroidery mockup shows your design rendered as real thread stitches on a product, the way it will look once it is actually sewn. You make one by choosing an embroidery decoration method, uploading a PNG, and letting AI stitch agent render the preview. No Photoshop, no digitizing service, no design skills required. All of that you can get in Dynamic Mockups.
Here is the whole process in five steps:
- Pick a product such as a tee, hoodie, cap, tote, or patch from a free template.
- Choose Embroidery as the decoration method instead of a flat print.
- Upload your PNG, ideally with a transparent background.
- Render the stitch preview and let the Stitch AI agent do the conversion.
- Place it on the mockup, then scale, rotate, and save.
The payoff is a photoreal thread preview in your browser, free, with no credit card required. It works the same on a single logo or a full catalog of products.
One bonus most tools skip: the same upload can also give you a downloadable machine file, so the mockup you show buyers can become the file you sew from later.
Why Flat Printed Mockups Don’t Sell Embroidered Products
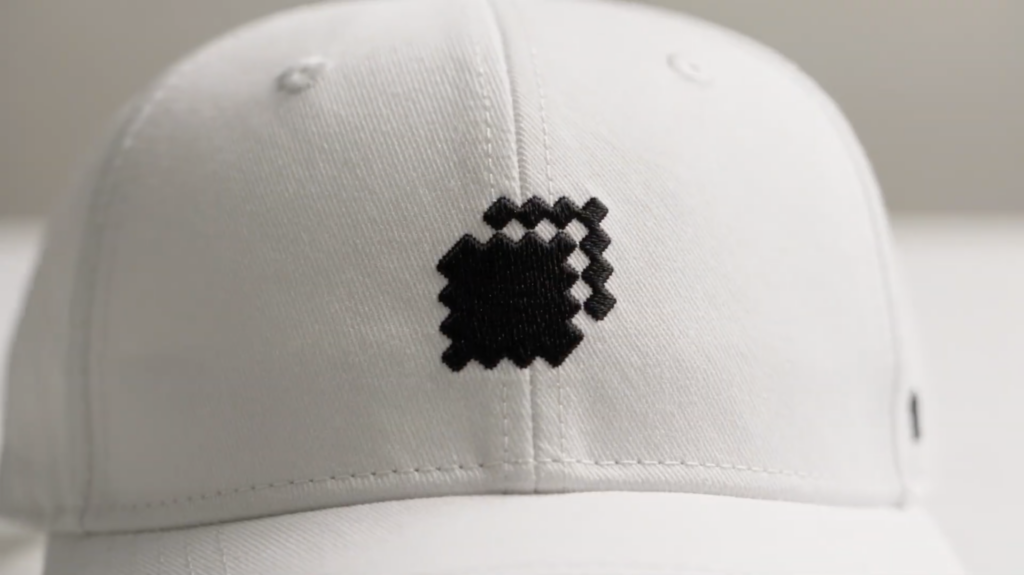
Picture a shopper landing on your listing for an embroidered cap. The logo looks flat and smooth, like a sticker printed onto the fabric.
That is the trouble with a standard mockup on a stitched product. It shows ink, not thread.
There is no stitch texture. No sheen where light catches the floss. No raised edge where the needle built the design up off the fabric.
Real embroidery also has direction. Satin stitches lie in rows that catch light one way, fills lie another, and the outline sits proud of the surface. A printed mockup flattens all of that into one smooth layer, which is why the eye clocks it right away.
Buyers register those cues faster than they can explain them. Embroidery is a texture product, and on a polo, a beanie, a chest crest, or a patch, people expect to see the thread. When the preview looks printed, the item reads as cheaper than it is, and shoppers hesitate.
The cost of that hesitation shows up twice. First you lose the click, because a weak preview gets scrolled past. Then, when a printed-looking listing does sell, the real stitched product arrives looking different, and that gap drives refunds and lukewarm reviews.
The numbers back this up. Around 22% of products get sent back because they look different in person, and a flat preview of a stitched item is exactly the kind of mismatch that sets that off.
Strong visuals carry real weight here. The majority of shoppers always or regularly look for photos and videos before they buy, and photoreal images build the trust that reduces the uncertainty of buying something you cannot touch.
There is a ranking cost too. On marketplaces like Etsy and Amazon, listings that earn fewer clicks slide down the results, so a weak embroidery preview quietly buries everything else you did right.
So why not just build the look in Photoshop? Because good hand-built embroidery PSDs barely exist.
Faking real embroidery by hand is slow. You are stacking stitch brushes, satin textures, and drop shadows to imitate something a machine does in one pass, and the result usually still looks off.
The few files that actually convince get passed around privately in designers’ DMs. The rest look like a bevel-and-emboss filter from 2011.
You can pay a digitizer instead, but that means a fee and a wait for every new design, before you even know if it will sell. That is a lot of friction just to test an idea.
The tools that already sell embroidery scenes have their own limits. Placeit leans on static, pre-staged photos, so your exact artwork and colors have to fit their shot. Some print-on-demand apps add an embroidery effect but tell you up front that it may not match the sewn result.
You can already make mockups without Photoshop for almost any print product. Embroidery was the gap.
An AI stitch preview fills it. It renders your real PNG as thread without asking you to digitize anything or open Photoshop, and it works the same across products. If you want the broader case for rendered previews over studio shoots, we cover mockups vs product photography on its own.
Make Your Embroidery Mockup Step by Step
Here is the full walkthrough. It takes a couple of minutes the first time and seconds after that.
That is really all there is to how to make an embroidery mockup that looks sewn instead of printed. Four steps, all in the browser.
Step 1: Pick a Product From the Template Library
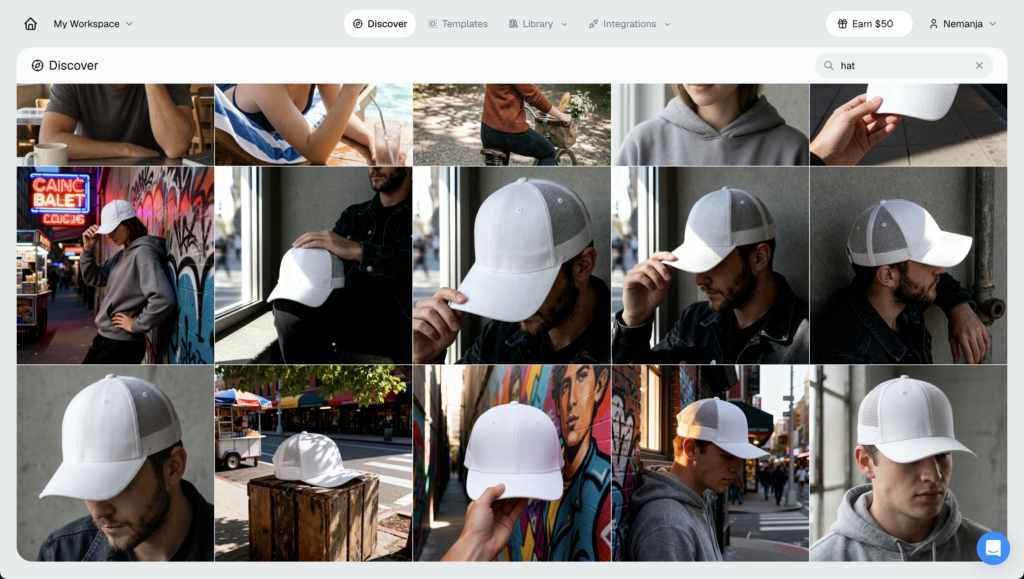
Start in the free mockup template library and choose the blank you want to decorate. Tees, hoodies, caps, totes, beanies, and patches all work. If a hoodie is your blank, our embroidered hoodie mockup walkthrough covers placement, fabric, and colorways end to end.
Pick the product your buyer will actually receive. If you sell embroidered caps, begin on a cap, not a flat tee.
Garment color matters too. A cream thread reads beautifully on navy and vanishes on white, so choose a base that lets the stitches show.
💡 Pro Tip: The flow is the same one you would use to create a t-shirt mockup with a flat print. Embroidery just adds one extra choice and nothing else.
Step 2: Choose Embroidery as the Decoration Method
On your chosen product, set the decoration method to Embroidery instead of a standard print.
This is the switch that changes what happens next. It tells the editor to treat your upload as stitches, so the render comes back as thread rather than ink.
It also means you are not stuck with one generic effect. The stitch look is generated from your artwork, not stamped on top of it.
Step 3: Upload Your PNG and Let Stitch AI Render It
Upload your design as a PNG. A transparent background gives the cleanest result, because the stitches follow your artwork and skip the empty space around it.
Then let the Stitch AI agent convert it. It reads your file and renders a photoreal thread preview, taking you from a plain PNG to embroidery mockup in a single pass.
Simple, bold artwork works best. Big shapes and clear edges translate into thread cleanly, which is also how real machines behave.
💡 Pro Tip: Thin lines and tiny text can drop out in stitches, the same way they would on an actual machine. Thicken hairline strokes and bump up small type before you upload.
Step 4: Position, Scale, and Save Your Mockup
Drag the design into place, then scale and rotate it to sit right on the chest, the cap front, or the patch. A left-chest logo usually sits around 3 to 4 inches wide, which is a safe default if you are unsure.
When it looks correct you can export the image straight to your listing. The mockup is already saved. That is your finished embroidery effect mockup, with the stitch effect baked into the shot.
Export a few angles or colorways while you are here. Buyers trust a listing more when they can see the same stitched design more than one way.
Refine the Stitch Look: Thread Color, Puff, and Merrow Borders
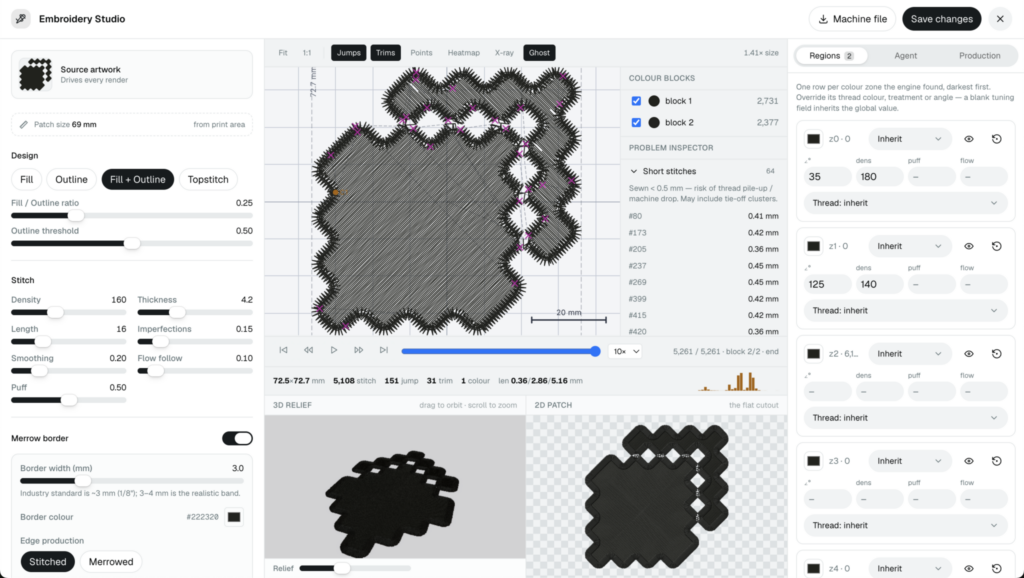
The base render already reads as thread. If you want to push it further, the embroidery studio gives you a few controls that matter for embroidery in particular.
- Thread color per region: Set the right floss in the right spot so a two- or three-color logo reads the way it will stitch, not as one flat fill.
- Puff for height: Turn on puff for the raised, 3D foam-embroidery look you see on premium caps and beanies. It sits higher off the fabric and photographs like the real thing.
- Merrow border: Wrap a design in a clean stitched edge to turn it into a finished, listing-ready patch that buyers recognize on sight.
None of these are required, and the base preview sells fine on its own.
Think of them as dials you turn when a specific product calls for it. A puff cap here, a bordered patch there, so the mockup matches the exact piece a customer will hold.
💡 Pro Tip: Match your thread colors to the ones your manufacturer actually stocks. A preview that promises a shade the machine cannot sew just creates another mismatch at delivery.
Save a Reusable Embroidery Variant (and a Machine File)
Once your stitch look is dialed in, save it as a reusable decoration variant. That setup becomes a preset you can apply again with one click.
This is the part that scales. Re-skin a whole collection from a single embroidery treatment, and reuse the same thread look across every product and colorway without redoing the work.
Selling the same crest on a cap, a polo, and a beanie? Set it up once and apply it to all three.
It keeps your catalog consistent, too. Every product in a collection shares the same stitch style, so the shop looks deliberate instead of pieced together.
For agencies and busy shops, that is the difference between pitching one product and pitching a full range in the same afternoon. Seasonal drops and new colorways become a quick re-skin instead of a fresh build.
Here is the bonus most mockup tools cannot match. The same PNG you uploaded can also produce a downloadable machine file, a Tajima DST, the format the vast majority of embroidery machines can read.
So the preview you show buyers doubles as production-ready art. If an order lands or you bring stitching in-house, you already have a file to sew from. We cover the DST file itself in a separate guide, so here it is just one more step in the same workflow.
How Dynamic Mockups Makes Embroidery Mockups Easy in 2026
Under the hood, Dynamic Mockups developed the first embroidery digitizing agent called Stitch. You upload a design once and get two things back: a photoreal thread preview and an editable, reusable mockup you can restyle any time.
No Photoshop needed, no digitizing service, no PSDs traded in DMs or waiting for a digitizer for days, and it all runs in the browser.
The pieces fit together like this:
- Embroidery decoration method: the switch that renders your upload as stitches instead of ink.
- Stitch AI agent: turns a plain PNG into a photoreal embroidery preview from a single file.
- Advanced editor/studio: thread color, puff, and merrow borders for the final layer of realism.
This fits whether you are a solo Etsy seller testing one embroidered cap or an agency pitching a client’s full uniform range.
Making a handful of mockups is free. When you are producing at volume, our AI mockup generator and bulk tools render whole catalogs at once, and you can check our pricing for the plans that add that automation.
The fastest way to learn how to create an embroidery mockup is to make one. Pick a product, switch the decoration method to Embroidery, upload a PNG, and watch it come back as thread.
Learn more about Stitch agent by visiting this Stitch page.
Try the Embroidery decoration method free and see your design stitched in seconds. →
Showcase your E-commerce products like big brands, without costing a fortune. Sign up today. No credit card required.
Frequently Asked Questions
What is an embroidery mockup?
An embroidery mockup shows your design rendered as real thread stitches on a product, the way it will look once it is actually sewn. Unlike a flat printed preview, it captures stitch texture, sheen, and the raised edge where the needle builds the design off the fabric. It lets buyers see a stitched cap, polo, or patch before you sew a single one.
How do I make an embroidery mockup without Photoshop?
You make one in the browser, no Photoshop needed. Pick a product like a tee, hoodie, cap, or patch from a free template, set the decoration method to Embroidery instead of a flat print, then upload your PNG. The Stitch AI agent renders it as photoreal thread. Position, scale, and save. It is free with no credit card required.
How do I turn a PNG into an embroidery effect?
Upload your PNG on a product with the Embroidery decoration method selected. A transparent background gives the cleanest result, because the stitches follow your artwork and skip the empty space around it. The Stitch AI agent reads the file and converts it to a thread preview in one pass. Simple, bold artwork with clear edges translates best, just like on a real machine.
Are AI embroidery mockups realistic enough to sell with?
Yes. The render captures the cues buyers look for in real embroidery: stitch texture, thread sheen, and the raised edge that sits proud of the fabric. You can push realism further with per-region thread color, puff for a 3D foam look, and a merrow border for patches. Match your thread shades to what your manufacturer stocks so the preview matches the sewn piece.
Can I get a downloadable embroidery machine file from my mockup?
Yes. The same PNG you upload for the preview can also produce a downloadable machine file, a Tajima DST, the format most embroidery machines read. So the mockup you show buyers doubles as production-ready art. When an order lands or you bring stitching in-house, you already have a file to sew from, no separate digitizing service required.
![Can ChatGPT Make an Embroidery File? We Tested It [2026]](https://dynamicmockups.com/wp-content/uploads/2026/10/can-chatgpt-make-embroidery-files-cover-768x403.png)