


![What Is a DST File? How to Open and Use It [2026 Guide]](https://dynamicmockups.com/wp-content/uploads/2026/08/what-is-a-dst-file-cover-768x403.png) Embroidery
Embroidery
On this page
How Does Print-on-Demand Embroidery Work?
Print-on-demand embroidery lets you sell stitched hats and apparel without owning a machine or holding stock. You upload artwork, it gets digitized into a stitch file like a DST, and an on-demand supplier stitches it onto blank products one order at a time. You proof the result with a mockup, then list it.
This business model approach does not require machines, inventory or a minimum quantity you need to order.
The appeal is simple: embroidery reads as premium. A stitched logo on a dad hat or a polo feels like something a real brand made, which is why it sells for more than a printed version of the same design.
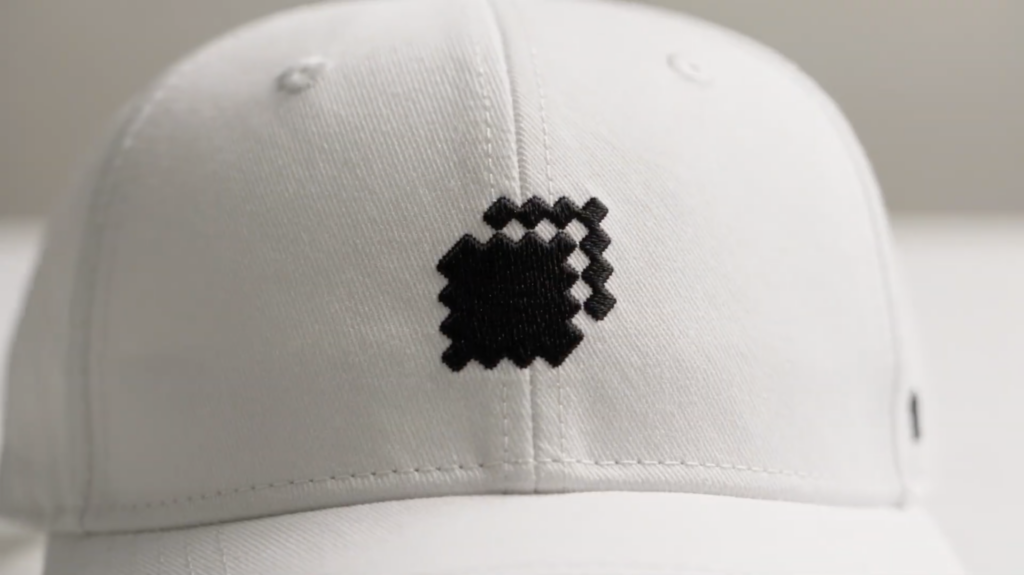
It fits Etsy sellers, Shopify brands, and merch agencies that want that premium look without buying a commercial machine or stocking boxes of blanks.
The economics are the draw. You pay the supplier only after a customer pays you, so there is no upfront spend on blanks, thread, or a machine sitting idle between orders.
Here is the pipeline you will actually run, from first draft to live listing:
- Design for thread: simplify your artwork into bold shapes and a short list of solid colors.
- Digitize to a DST: turn that artwork into stitch instructions a machine can read.
- Pick a supplier: choose who stitches and ships, and which blanks they carry.
- Proof with a mockup: see the design as real thread before a single order comes in.
- List and reorder: publish the product, sell it, and only pay when someone buys.
This post is the hub for all five steps. Each section below hands off to a deeper guide, so read this as the map and follow the road you need.
Let’s do it in order.
Design and Artwork Rules for Embroidery
Embroidery is not print, and that one fact shapes every design decision you make.
A printer sprays ink, so it can handle photos, soft gradients, and hairline text. A needle drags thread through fabric, so fine detail either jams the machine or frays into mush.
So before anything gets digitized, the artwork has to be rebuilt for stitches. That usually means simplifying and color-blocking: fewer colors, cleaner edges, bolder shapes.
Keep these rules close:
- Bold shapes: thick lines and solid fills stitch cleanly; thin wisps do not.
- Few colors: plan for a short thread palette, often around six, instead of a full-color image.
- Readable text: as a rule of thumb, keep letters at least a quarter inch tall so they stay legible in thread.
- No photo detail: drop gradients, soft shadows, and tiny textures, and flatten them into solid color.
- Simple marks win: a clean logo reads better on a cap than a busy illustration ever will.
Get this right and digitizing goes smoothly. Push a too-detailed file through and you get puckering, thread breaks, and a muddy stitch-out that looks nothing like your screen.
Here is the classic one. A logo with a thin script tagline looks crisp on screen, then turns into a blurry caterpillar once it is stitched at hat size. You either grow that tagline or drop it.
Most first-timers hit the same traps: text too small, outlines too thin, too many colors, art sized wrong for the hoop. Fix those at the design stage, because no digitizer can rescue a file that was never built to be sewn.
Digitizing Your Design Into a DST File
Digitizing is the step that turns a flat image into machine instructions. A PNG tells a screen which pixels to light up. It tells an embroidery machine nothing.
So someone, or something, has to map your design into stitches: where the needle drops, in what order, in which direction, and how densely.
Most of embroidery digitizing comes down to three stitch types:
- Running stitch: a thin single line for outlines, small detail, and light coverage.
- Satin stitch: smooth, glossy columns that suit text and borders.
- Fill stitch: rows of stitches that pack color into larger areas.
Good digitizing also adds underlay stitches and sets density so the design sits flat and holds up in the wash. Bad digitizing is where most stitch-outs go wrong.
The output is almost always a DST file. The short version: DST stands for Data Stitch Tajima, a format Tajima created and the one most commercial machines read, including Brother, Barudan, and Janome. It stores stitch paths rather than thread colors, so you set the actual colors at the machine.
For the full breakdown, here is what a DST file is and how to open it.
You have three ways to get one:
- Hire a digitizer: send your art to a pro and get a production-ready file back.
- Buy digitizing as an add-on: many suppliers digitize for a one-time fee per design.
- Use software: run the file through software for a fast first pass.
Free tools are great for proofing and simple logos. For dense artwork or anything you plan to sell at volume, a human digitizer still gives the cleanest stitch-out.
Want the whole process start to finish? Here is how embroidery digitizing works, from artwork to finished file.
💡 Pro tip: For a quick first version, our free PNG to DST converter and AI embroidery digitizer turn a flat logo into a machine file in a couple of clicks, so you can test a stitch-out before you pay anyone.
Best Print-on-Demand Embroidery Suppliers and Products
Not every product takes thread well, so start with the ones that sell.
The proven winners are structured, heavier pieces that give the needle something to bite into:
- Dad hats and trucker caps
- Beanies
- Polos and button-downs
- Fleece and quarter-zips
- Hoodies and sweatshirts
- Tote bags
- Patches you can apply to almost anything
Hats lead the category by a wide margin. A stitched front panel is the exact look most buyers picture when they think custom embroidery, and caps are where 3D puff really shines.
Patches earn a special mention. Digitize one patch and you can apply it to hats, totes, and jackets, so a single design stretches across a whole product line.
Now the suppliers. The major print on demand embroidery suppliers all stitch, but they differ on products, fees, thread limits, and whether they offer raised 3D puff. Use this as a starting grid.
| Supplier | Embroidery products | Digitizing / setup | Thread colors | 3D puff |
|---|---|---|---|---|
| Printful | Caps, tees, polos, hoodies, bags | No order minimums; $2.95 per file to adapt a hat file for apparel | Set thread palette | ✅ Caps only |
| Printify | Hats, tees, sweatshirts, polos | Varies by print provider | 15, up to 6 per design | ⚠️ Varies by provider |
| Apliiq | Hats, beanies, hoodies, bags, patches | Per design, varies | Varies by product | ✅ 3D embroidery |
Fees and thread palettes change often, and every supplier runs its own rules. Confirm each cell against the supplier’s live page before you commit a product line to it.
Two details from the grid are worth pulling out. Printful keeps 3D puff to caps and does not run it on apparel, and a hat file has to be adapted before it works on a shirt. Printify spreads production across a provider network, so it lists 15 thread colors but caps each design at six.
So the best print on demand for embroidery is not one name. It depends on what you sell: caps and puff point one way, patches and private-label another.
But Printful and Printify are pretty good options there!
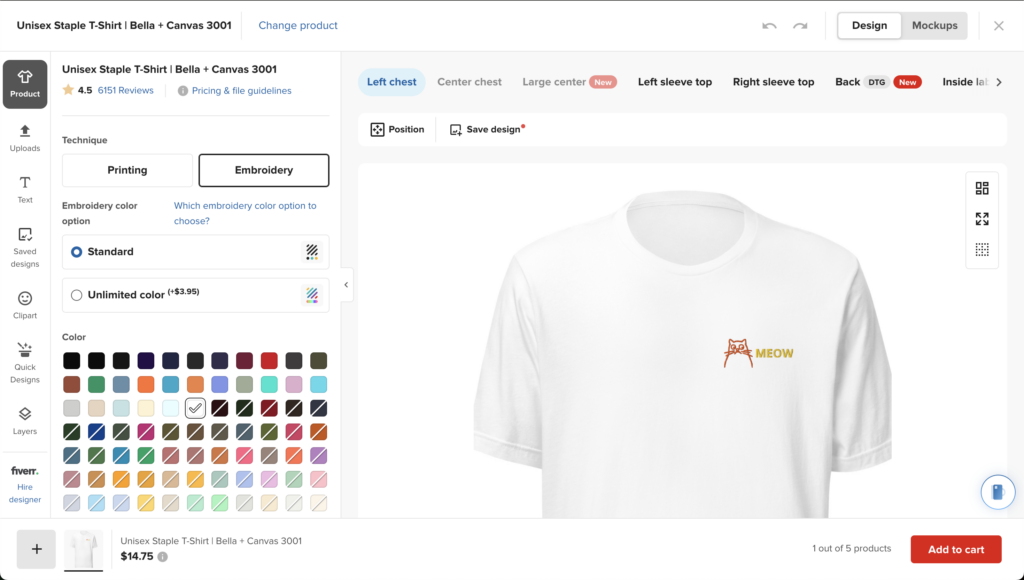
📌 Already running a print shop and want to add stitching as a service? Here is how to start offering embroidery in your print shop without buying a single machine.
Proofing Your Embroidery With a Mockup Before You List
Before you list anything, see it as thread. A good proof does three jobs at once.
It catches digitizing problems while they are still cheap to fix. It shows buyers a realistic stitch instead of a flat graphic pretending to be embroidery. And it builds trust before anyone spends a cent.
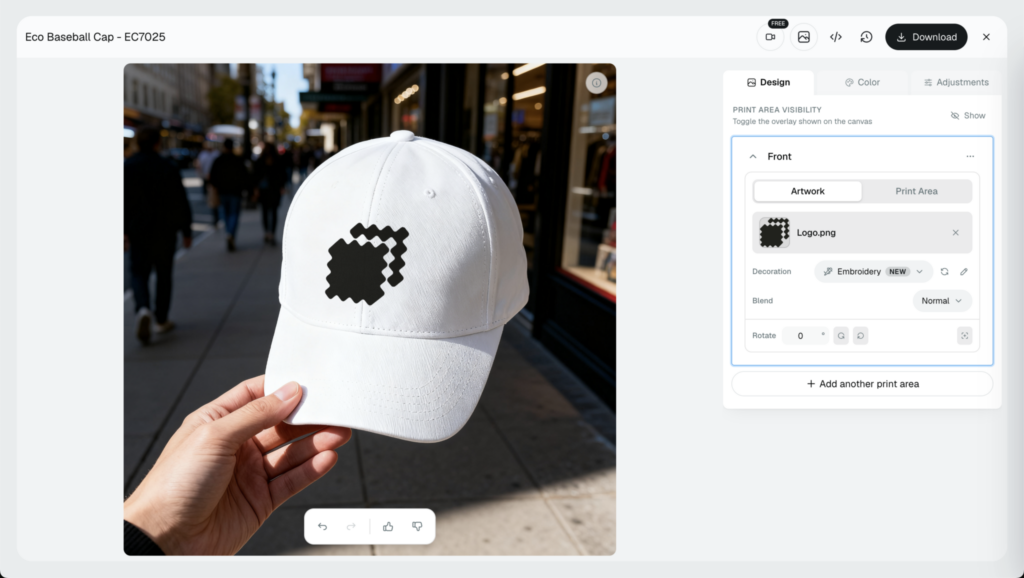
Here is the fast path, no sample order required:
- Upload your PNG.
- Let Stitch AI render it as real thread, with visible stitch direction and texture.
- Export a free machine file from the same design.
- Drop that render onto a hat or apparel scene so the product looks photographed.
The goal is to fail cheap. If the text is too thin or a color goes muddy, you catch it on screen in seconds instead of on a sample that took a week to ship.
A proof also settles the questions that stall a sale. Embroidery buyers care about placement and thread color, and a clear render answers both before they have to ask.
When you are ready to build one, here is how to make an embroidery mockup online. And if hats are your bread and butter, this shows how to turn a logo into an embroidered hat mockup in a few clicks.
One more upside: your embroidery mockup doubles as your listing image. The same render that checks your stitches becomes the photo buyers see, so a single pass does the work of two.
How Dynamic Mockups Helps With POD Embroidery
Proofing thread is exactly what we built our embroidery tools for, and every one of them is free to start.
- PNG to DST converter: turn a flat logo into a downloadable machine file your supplier can actually stitch.
- Logo to embroidery: drop in a logo and get a stitched version back, ready to proof.
- Stitch AI thread rendering: our Stitch AI reads your artwork and renders it as real thread, with the direction and sheen that make embroidery look embroidered.
Chain them together and you go from PNG, to machine file, to photorealistic embroidery mockup in one sitting, all before you pay a digitizer or order a sample.
You can run every one of them from our free embroidery tools page. No credit card required.
None of this replaces the suppliers in the grid above. They stitch and ship. We handle the part that comes first: proving the design works and giving your listing a photo that sells.
Start proofing your first embroidery design for free. No sample order, no machine.
Showcase your E-commerce products like big brands, without costing a fortune. Sign up today
Frequently Asked Questions
Is print-on-demand embroidery worth it for small shops?
Yes. You pay the supplier only after a customer pays you, so there is no upfront spend on a machine, thread, or blanks. Embroidery also reads as premium, so a stitched hat or polo sells for more than a printed version. For small shops that want a brand look without inventory risk, the economics work.
How much does print-on-demand embroidery cost?
There are two main costs: a one-time digitizing fee to turn your art into a stitch file, and the per-item price the supplier charges per order. Digitizing often runs as a flat fee per design, and some suppliers add small adaptation fees. For example, Printful charges $2.95 to adapt a hat file for apparel. Confirm current rates on each supplier’s live page.
Do I need to digitize my design before embroidery?
Yes. An embroidery machine cannot read a PNG or JPG. It needs a stitch file like a DST that maps where the needle drops, in what order, and how densely. You can hire a pro digitizer, buy digitizing as a supplier add-on, or run a free tool for a fast first pass. Dense artwork usually stitches cleanest with a human digitizer.
Which print-on-demand companies offer embroidery?
Printful, Printify, and Apliiq all stitch on demand, but they differ. Printful covers caps, tees, polos, hoodies, and bags, with 3D puff on caps only. Printify spreads production across a provider network and caps each design at six thread colors. Apliiq does hats, beanies, hoodies, bags, and patches with 3D embroidery. Check each supplier’s live page for current products and fees.
What file format do embroidery machines need?
Most commercial embroidery machines read DST, which stands for Data Stitch Tajima. It stores stitch paths rather than thread colors, so you set the actual colors at the machine. Brands like Brother, Barudan, and Janome read it. Your digitizer or a PNG to DST tool produces the file, then your supplier loads it to stitch your design.