



![The Real Cost of Buying Mockups on Etsy [2026 Breakdown]](https://dynamicmockups.com/wp-content/uploads/2026/07/cost-of-buying-mockups-on-etsy-cover-768x403.png) Ecommerce
Ecommerce
On this page
How to Make Halloween Mockups From a Prompt in 2026
It’s never been easier by using Dynamic Mockups.
To make Halloween mockups, pick a base (a text prompt through MockAnything AI or a ready-made Halloween template), drop your design onto the product, adjust the fit and lighting, then export a lifestyle shot. Every step happens in one browser tab.
No Photoshop. No Canva detour. Free to start, and no credit card required.
That’s the appeal of a browser-based Halloween mockup generator: you can make mockups without Photoshop from the first click to the final export, even if you’ve never opened a design app.
Seasonal designs are time-sensitive, too. You can’t wait a week for a photoshoot when spooky season is already half over, so generating the shot on demand is the whole point.
Before you start, aim for the right kind of result: a manufacturable lifestyle mockup, not just a pretty AI picture.
A manufacturable mockup shows your actual design on a real product you can print and ship. Flat print area. Believable angle. Lighting that matches the scene.
An AI render that invents a warped logo, melted text, or a product that doesn’t exist can look gorgeous and still sell nothing. If you can’t produce and ship what’s in the photo, it’s art, not a mockup.
A lifestyle shot goes one step past a plain product-on-white image. It sets the item in a scene a buyer recognizes, a mug on a candle-lit table, a tee on a porch, so they can picture owning it.
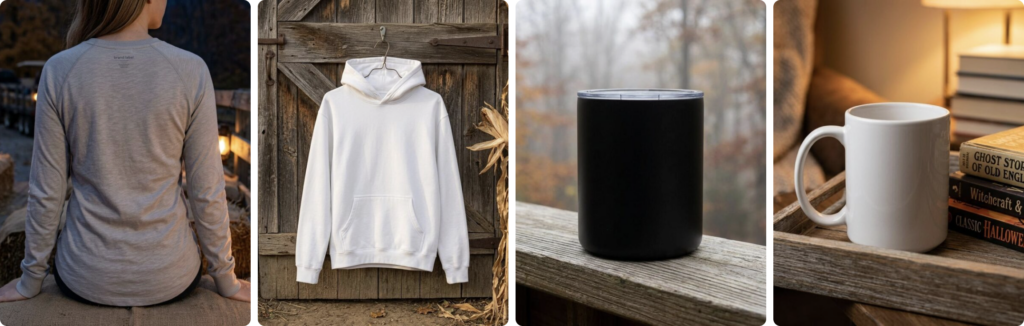
Halloween designs lean visual, so that framing carries even more weight than usual. A clever skull pun or a cute ghost only lands if a shopper can see it on a shirt they’d actually wear.
Shoppers can’t hold your tote or sip from your mug, so the image stands in for the product itself.
Good news for beginners: you’ll get a usable result on your first try. The prompt bank further down does the heavy lifting, so you copy, paste, and swap in your product.
Let’s start with the two routes.
Two Ways to Start: AI Prompt or a Ready Halloween Template
Two routes lead to the same finished mockup. Pick based on how custom the scene needs to be.
Route A, Mock Anything AI from a text prompt. Describe the product and the spooky scene, and the AI turns it into a reusable, editable mockup base. This is the AI Mockup Generator route, and it earns its keep when the scene in your head isn’t sitting in any library yet.
Say you want your black-cat design on a hoodie, shot on a fog-covered fence at night. No stock library has that exact frame, so you describe it once and the AI builds it.
The word that matters is reusable. Mock Anything AI doesn’t just hand back a one-off render.
It builds a base you can reopen, re-light, and reload with a different design whenever you want. Make it once, use it all season across every new drop.
Route B, a ready-made Halloween template. When you want an instant solution, skip the writing and pick a pre-lit scene from the Halloween mockup templates library. Drop your design in, and the shot is ready.
Say you just need your ghost design on a standard white mug, cleanly lit. A template gets you there in seconds, with no prompt-writing at all. It’s the quickest way to spin up Halloween product mockups across an entire lineup.
Browse free Halloween Mockup Templates in our public library.
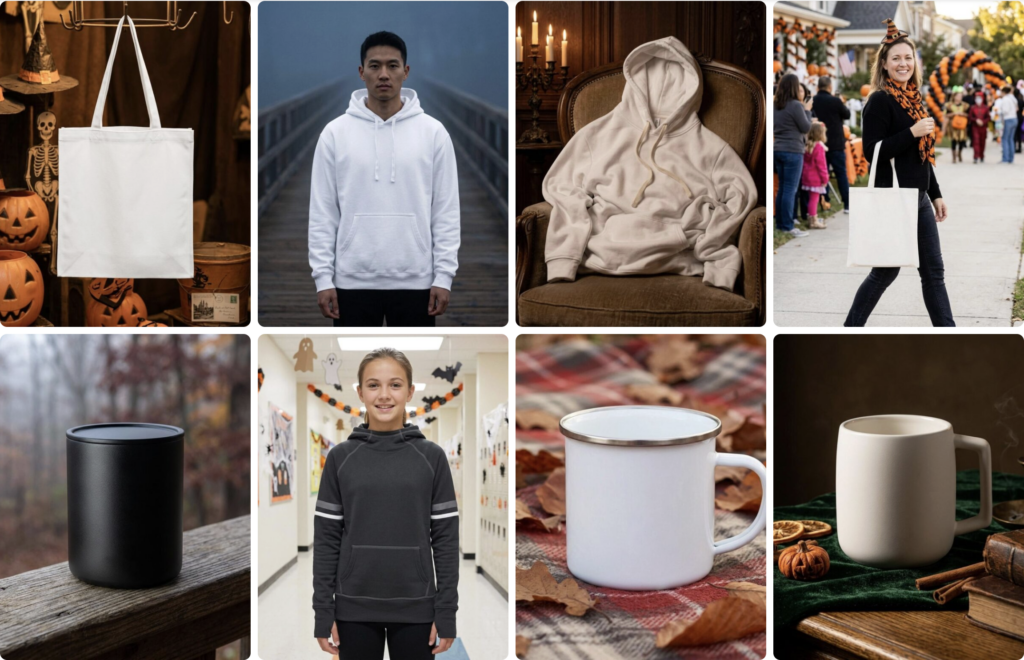
Templates win on speed. If you’re pushing one design across twenty products before the weekend, a scene you don’t have to describe is the faster path to volume.
Here’s the quick way to choose:
| Approach | Best for | Speed | What you get |
|---|---|---|---|
| Mock Anything AI prompt | Custom or novel scenes | Fast | A reusable, editable base |
| Halloween templates | Instant volume across a collection | Fastest | A pre-lit scene, ready to fill |
You don’t have to choose only one. Mix both inside a single Halloween drop: a couple of prompt-built hero shots up front, a stack of template mockups behind them.
Both are free to start, so there’s no cost to testing which one fits your workflow.
Step-by-Step: Generate Your First Halloween Mockup
Four steps, one browser tab, blank canvas to store-ready shot.
Step 1: Pick Your Base and Product
Choose your starting point first, a prompt or a template, then the product it lives on. Strong Halloween sellers include a spooky tee, an orange enamel mug, framed wall art, a canvas tote, and a phone case.
Pick the product you’re really selling. Your mockup should match the exact SKU a buyer receives.
We have offer of thousands of POD products available for you to choose from and create real manufacturable mockups for them.
If you sell a range, jot down the five products you want covered now. You’ll reuse the same design across all of them in a minute.
Step 2: Drop Your Design Onto the Print Area
Upload your artwork and place it on the product’s print area. Position it where it would actually print: centered on the chest, wrapped around the mug, framed inside the art.
All of this runs in our web application editor, right in your browser. No downloads, no jumping to a second app and back.
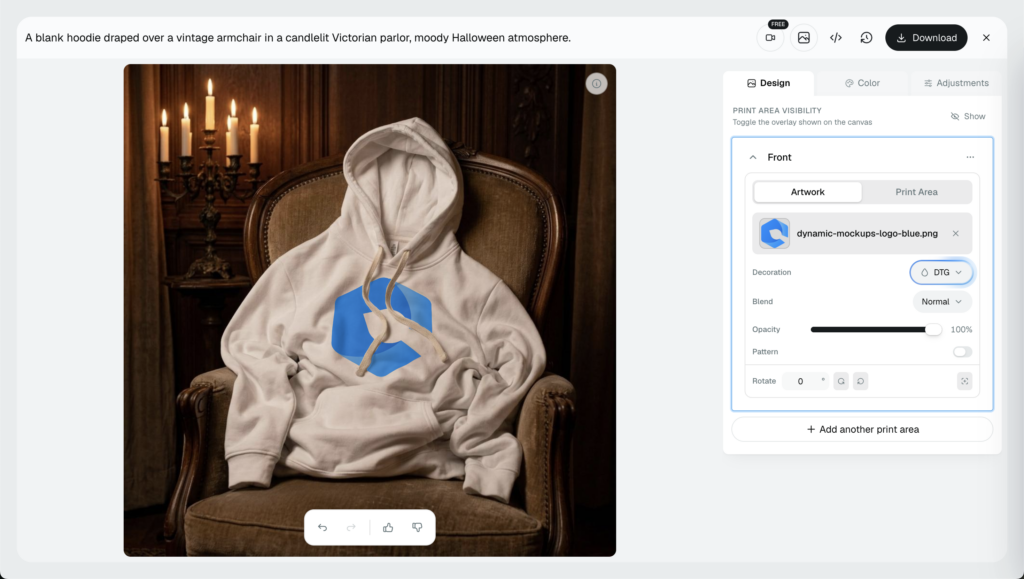
Use a transparent PNG so the background of your design doesn’t box in the print. Clean edges here save you cleanup later.
Step 3: Adjust Fit, Scale, and Lighting
Now make it look real. Scale the design so it sits naturally on the product, then match its light and shadow to the scene so the print looks printed, not pasted on top.
Small fit tweaks separate a sellable mockup from an obvious fake. A design that ignores the fold of a shirt or the curve of a mug gives itself away in half a second.
For a fuller checklist on angles, framing, and shadows, our guide to product mockup best practices walks through what to check before you hit export.
💡 Pro tip: keep the print area flat and facing the camera. A gentle three-quarter turn is fine, but a hard tilt distorts text and kills the realism.
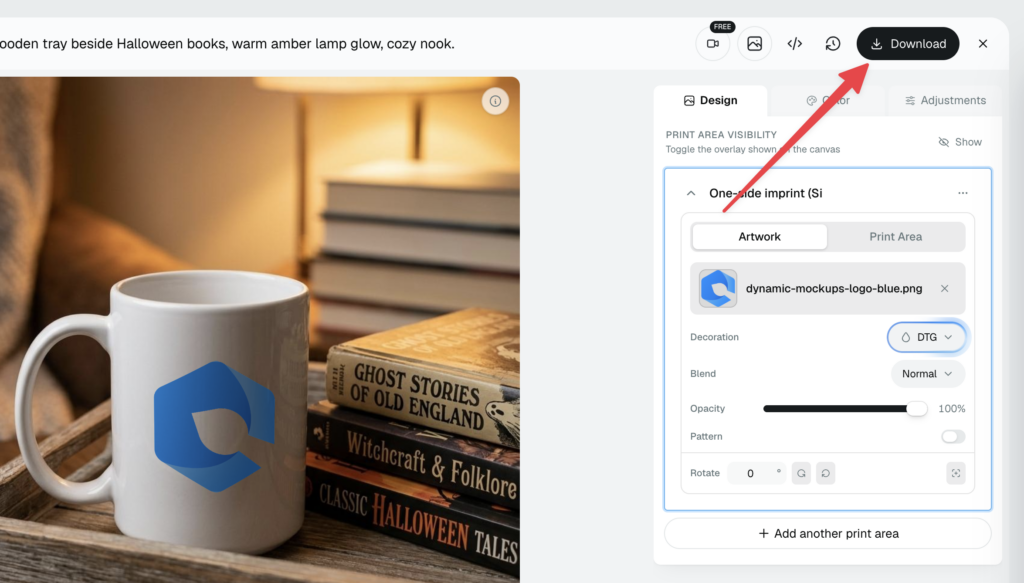
Step 4: Export a High-Resolution Lifestyle Shot
Export at high resolution, sized for where it’s headed. A square works for Etsy and Instagram, a wider crop suits a Shopify hero, and each marketplace has its own preferred ratio.
Save one clean master file per product, then crop from it. That way a single export feeds your listing, your ads, and your social posts.
That’s the loop: prompt or template, drop, adjust, export.
And it’s worth getting right. In Salsify’s 2025 Consumer Research report, 77% of shoppers said product titles, descriptions, and visuals play a critical role in their choice to buy. Your mockup is that visual, so treat it like part of the product.
Copy-Paste Halloween Mockup Prompt Bank
This is where beginners get a first-try win. Take these three prompts, swap in your product, and generate.
Every one follows the same shape.
The formula: product + scene + lighting + seasonal props.
Name the product plainly, set the scene, describe the light, then add a prop or two. That order keeps the AI focused on your item instead of the decorations.
Spooky tee on a moody porch. “A cotton t-shirt with a flat front print area, laid on a weathered wooden porch at dusk, soft blue evening light with a warm glow from a nearby jack-o’-lantern, dry leaves and a small pumpkin in the background, realistic straight-on angle.”
Orange enamel mug on a candle-lit table. “An enamel blank mug on a dark wooden table lit by flickering candlelight, cobwebs and a few mini pumpkins styled around it, shallow depth of field, mug facing the camera with a flat print area in view.”
Haunted-house wall art in a styled room. “A framed blank wall art on a wall in a cozy autumn living room, warm lamp light, a pumpkin and a knit throw in the foreground, straight-on angle so the artwork stays flat and easy to read.”
Notice what each prompt protects: a clear product and a flat, readable print area. That’s what keeps AI Halloween mockups manufacturable instead of merely decorative.
A few rules keep the AI honest:
- One clear product: name a single item so the model doesn’t blend two into a hybrid.
- Flat print area: ask for a visible, flat print zone so your design lands clean.
- Realistic angle: front-on or a gentle three-quarter turn beats a dramatic tilt that warps your art.
Want a whole set instead of one shot? Change a single noun at a time.
Swap “tee” for “hoodie,” “porch” for “graveyard fence,” or “candlelight” for orange string lights, and one prompt spins off a full Halloween collection.
Generate a few variations of each and keep the best. The first render is rarely the only good one, and picking from three or four beats settling for the first.
Keep a short list of scene nouns (porch, graveyard, foggy forest, cozy interior) and rotate them. You’ll fill a catalog of spooky product mockups without writing anything from scratch.
How Dynamic Mockups Helps You Launch a Halloween Collection
Put the pieces together and the workflow is short. Prompt or template, drop your design, adjust the fit and lighting, export the shot, then list it. That’s how you make Halloween mockups without Photoshop, start to finish, and still beat the rush.
That gets you one strong mockup. Now scale it.
With the Bulk Mockup Generator, a single design set becomes an entire collection in one pass: every product, every scene, generated together instead of one at a time. When you have thirty listings to fill before October, that’s the gap between an afternoon and a lost week.
The payoff is real money. Halloween keeps breaking records: U.S. consumers were projected to spend a record $13.1 billion on Halloween in 2025, with per-person spending at an all-time high of $114.45.
A shopper deciding between your listing and the next one looks at the photos first. Give them a scroll-stopping set, and give it to them in minutes.
From there it’s a straight line to your storefront. Push the finished shots to your Etsy, Shopify, or TikTok Shop listings and let the images do the work.
Keep learning: our guide on how to use mockups for a seasonal product launch covers timing, bundling, and getting a seasonal drop live before the rush.
Ready to build yours? Browse the Halloween mockup templates and start creating your first Halloween mockups for free.
See the short video introduction on how Dynamic Mockups can help you scale your e-commerce business visuals to the next level.
Showcase your e-commerce products like big brands, without costing a fortune. Sign up today. No credit card required. →
Frequently Asked Questions
How do I make Halloween mockups for free?
Start with Dynamic Mockups in your browser. Pick a base, either a Mock Anything AI prompt or a ready Halloween template, drop your design onto the product, adjust the fit and lighting, then export a lifestyle shot. The free plan needs no credit card, so you can generate your first Halloween mockup without spending a cent.
Can I create Halloween mockups without Photoshop or Canva?
Yes. The whole workflow runs in one browser tab, from the first click to the final export. Upload your artwork, place it on the product’s print area, then scale and light it inside the free online editor. No design software, no downloads, and no jumping between apps. Even if you have never opened a design tool, you get a usable result.
How do I write a good prompt for a Halloween product mockup?
Follow one formula: product plus scene plus lighting plus seasonal props. Name a single product plainly, set the scene, describe the light, then add a prop or two. Always ask for a flat, readable print area and a realistic front-on or gentle three-quarter angle. Example: a black cotton tee on a weathered porch at dusk, soft blue light, a small pumpkin nearby, straight-on angle.
Are AI-generated Halloween mockups realistic enough to sell?
They are, as long as you aim for a manufacturable mockup, not just a pretty render. That means your real design on a real product, a flat print area, a believable angle, and lighting that matches the scene. Skip warped logos, melted text, and products you can’t actually ship. Get those right and the shot reads as a genuine photo of something a buyer can own.
What Halloween products can I create mockups for?
Pretty much anything you sell. Strong Halloween sellers include a spooky tee, an orange enamel mug, framed wall art, a canvas tote, and a phone case. Point a prompt or template at the exact SKU a buyer receives, then reuse one design across the whole range. Swap a single noun, tee for hoodie, and one setup spins off a full seasonal collection.
![How to Convert TIFF to JPG for Print-on-Demand [Guide]](https://dynamicmockups.com/wp-content/uploads/2026/07/tiff-to-jpg-print-on-demand-cover-768x403.png)