Want to let customers design their own shirts and actually see what they’re creating in real time? That’s where a WooCommerce product configurator comes in. In this article, you’ll learn exactly how to configure a shirt product in WooCommerce using a visual configurator setup that enhances the shopping experience and increases conversion rates.
Whether you’re selling custom apparel, launching a print-on-demand brand, or adding personalization to your store, this WooCommerce product configurator tutorial will walk you through the essential tools, plugins, and design tips to bring it all together.
No guesswork – just a clear path to letting your customers create shirts they love.
Key Takeaways
- A product configurator lets customers easily design their own shirts, which is way better than old-school methods.
- Showing customers live previews of their designs can help you sell more shirts.
- Picking the right tools, like WooCommerce and a good visual configurator, is a big first step.
- You’ll need clear images and organized options to make your shirt configurator work well.
- Always thoroughly test your custom shirt setup before selling to ensure everything runs smoothly.
Why a Product Configurator Changes Everything
Static product pages are no longer enough, especially when you’re selling customizable items like shirts. Today’s shoppers expect more than a few dropdowns and a thumbnail preview. They want to see their product evolve in real time.
Visuals are king in e‑commerce, and interactive elements exponentially increase customer engagement and confidence. That’s where a product configurator steps in.
Why product configurators works:
- Reduces uncertainty – When visitors see exactly how their choices affect the shirt – color, fabric, and design, they feel more confident in the final product. Visual confirmation reduces “what if” hesitation.
- Boosts engagement – Interactive visuals hold attention longer than static images, giving customers a sense of involvement.
- Increases conversions – When shoppers feel confident and invested, they’re far more likely to complete the purchase.
For example, say a customer is torn between two navy blue shades. With your configurator, they can instantly preview both side‑by‑side, in real-time and choose the best.
This visual A/B test reduces cart abandonment and smooths the path to checkout.
Tip: Show side-by-side comparison by default, especially for similar colors or fabrics. This helps shoppers make quick, satisfying decisions, mimicking an in-store experience and reducing choice fatigue.
Why Traditional Customization Methods Fall Short
When it comes to custom products like shirts, outdated methods often leave customers frustrated and hesitant.
Long forms, unclear visuals, and the dreaded “wait for mockup” email kill momentum and confidence. Without real-time feedback, customers are left guessing what they’re going to get and guesswork is the enemy of conversions.
A modern product configurator removes these barriers. It transforms the design process into an interactive, visual, and empowering experience that fosters trust, accelerates decision-making, and ultimately drives more sales.
Here’s how traditional methods compare to a visual product configurator:
| Traditional Method | Problem | What a Product Configurator Fixes |
| Static images and dropdowns | Hard to visualize the final product | Real-time previews make every choice visible instantly |
| Lengthy forms and manual inputs | Time-consuming and error-prone | Guided, visual selections streamline the process |
| No immediate feedback | Customers feel unsure and disconnected | Interactive elements build confidence and engagement |
| Delayed mockups or manual design checks | Slows down the purchase decision | Instant rendering speeds up decision-making and boosts satisfaction |
| Limited personalization options | Doesn’t reflect customer creativity or intent | Allows full personalization—from colors to features—in one smooth UX |
💡 Pro Tip: According to leading e‑commerce insights, fewer options can improve conversions, and overloading your configurator can overwhelm users and stall decision-making. But don’t stop there: guide users through a clear, step-by-step flow. Visual cues like progress bars or labeled stages reduce confusion and help maintain momentum.
Keep options tight (e.g. 3–5 key fabric or color choices), and structure the configurator in clear stages:
1️⃣ Choose color
2️⃣ Pick fabric
3️⃣ Add design
This minimizes decision fatigue and maximizes conversions.
Essential Tools for Launching Your Custom Shirt Business
Ready to turn your shirt designs into a thriving online business? Great. But before the sales start rolling in, you need to build the right setup – not just creatively, but technically.
Think of it like building a house: you wouldn’t start with just a hammer. In the custom product world, WooCommerce is your foundation, and the configurator is your design studio.
Let’s walk through the must-have tools that bring your vision to life.
Step 1: Power Your Store with WooCommerce
Before you can sell a single shirt, you need a storefront. That’s where WooCommerce comes in, it’s the backbone of your custom shirt business. Whether you’re launching your first collection or scaling up an existing shop, WooCommerce gives you the tools to manage it all.
Why WooCommerce is a must-have:
| Feature | Why It Matters |
| Open-source & customizable | Tailor your store layout, product flow, and checkout to match your brand |
| Plugin compatibility | Easily integrate visual product configurators, shipping tools, and marketing apps |
| Beginner-friendly setup | No dev team needed—you can launch and manage your shop with minimal tech skills |
| Scalability | Whether you’re selling 10 shirts or 10,000, it grows with your business |
| Payment & order management | Built-in tools make checkout, fulfillment, and customer service seamless |
💡 Pro Tip: If you’re just starting out, use a WooCommerce-friendly theme since they’re lightweight, responsive, and work great with product configurators. Plus, they keep your site fast, which helps both SEO and user experience.
Step 2: Choose the Right Visual Product Configurator
Now that your WooCommerce store is live, it’s time to bring the real thing in: letting customers design their own shirts in real time. That’s where a visual product configurator transforms your store from basic to brilliant.
With the right configurator, customers can personalize their shirt by selecting fabric, colors, collar and cuff styles, buttons, and even add custom embroidery or monograms. More importantly, they’ll see each change rendered live, giving them a fully interactive experience that increases both trust and excitement.
Think of it as embedding a virtual tailoring studio directly into your e-commerce flow.
Key Features to Look For:
| Feature | Why It Matters |
| Live visual previews | Customers need to see their shirt updates in real time to feel confident in buying |
| Deep customization | Offer flexible product variables—fabric, fit, colors, patterns, and more |
| WooCommerce integration | It should connect seamlessly with your store, cart, and checkout process |
| Mobile responsiveness | A great experience on any device = higher engagement and lower bounce rates |
| Scalability | As your product line grows, your configurator should grow with it |
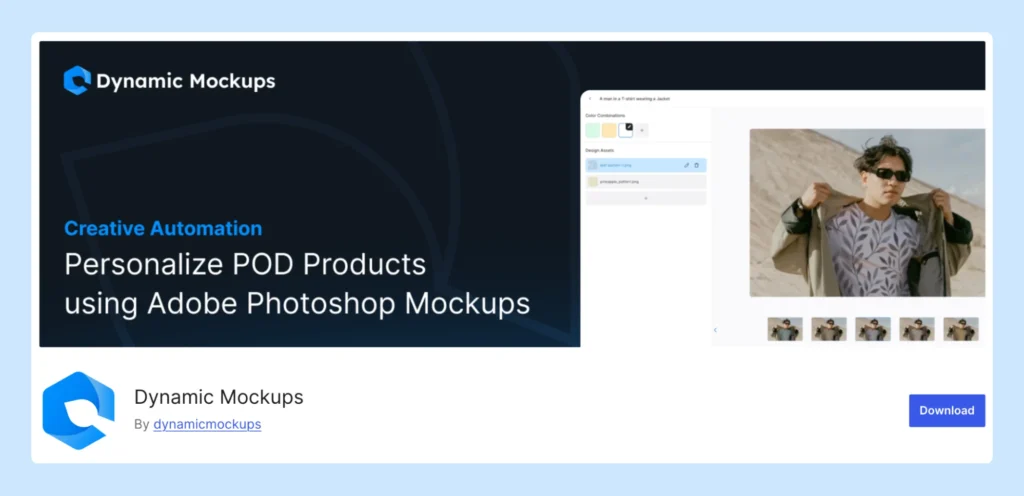
💡 Pro Tip: Look for a configurator that supports real-time editing, especially for fashion products. Dynamic Mockups offers an embeddable mockup editor that works perfectly as a real-time product configurator for fashion and apparel stores.
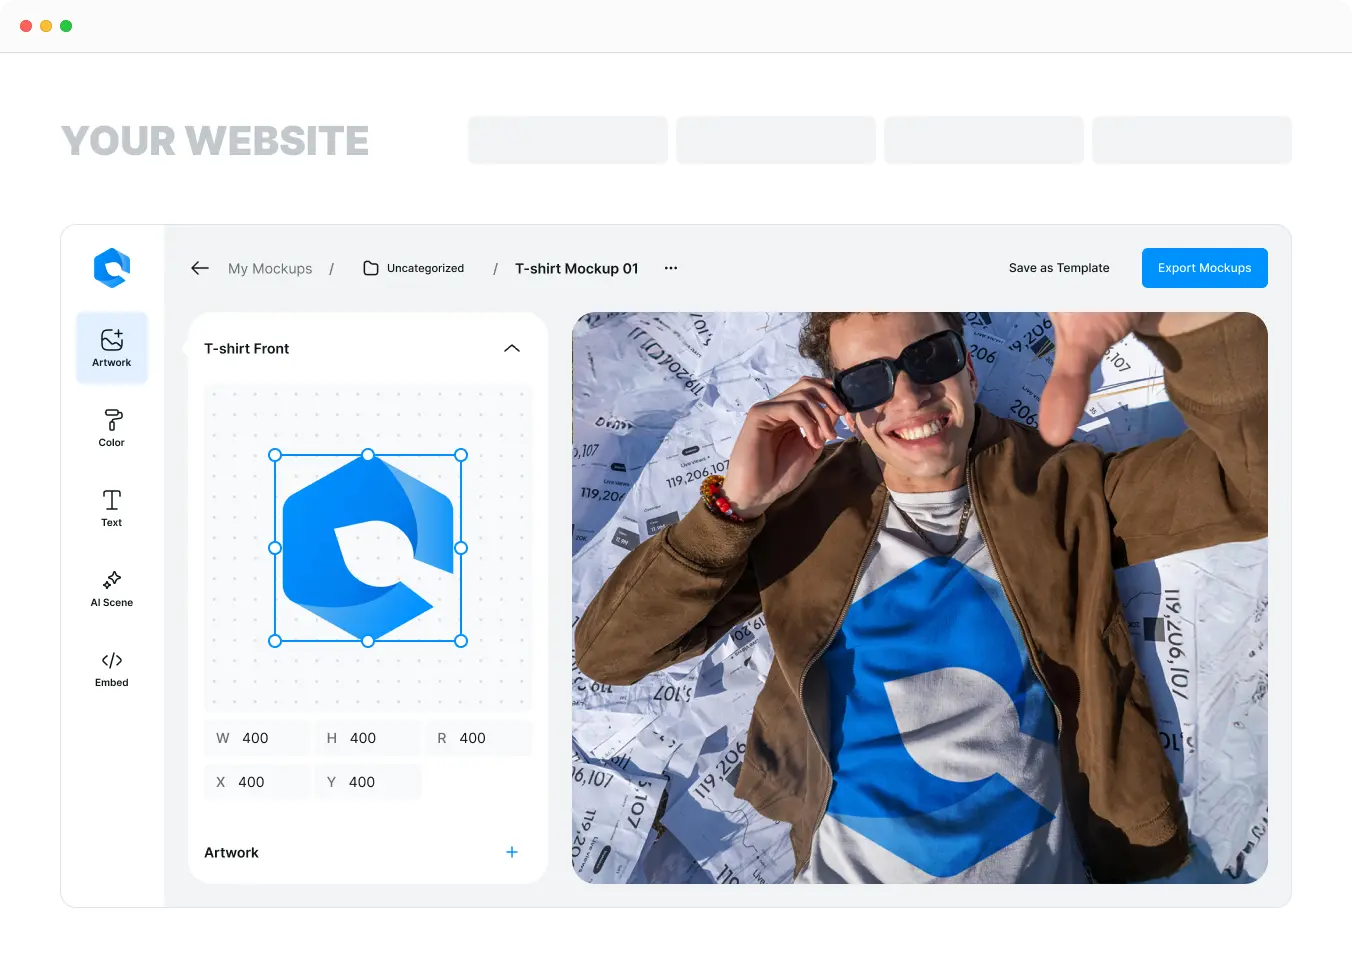
Customers can personalize designs directly on your site, seeing every change live, and the integration with WooCommerce is plug-and-play. It’s an effortless way to boost engagement, trust, and conversion without needing complex dev work.
Step 3: The Role of High-Quality 3D Assets
Let’s be real – blurry or pixelated visuals won’t cut it. If your configurator visuals look cheap, your custom shirts will feel cheap too. High-quality 3D assets are the foundation of a trust-inspiring, premium shopping experience.
These digital building blocks, fabric textures, buttons, stitches, folds, bring realism and clarity that static photos simply can’t match.
| Why Quality Matters | Impact on Customer Experience |
| Realism & Detail | Photorealistic renders with 360° views build trust, customers can inspect every stitch and button |
| Increased Confidence | Stores using 3D configurators see conversion rates rise up to 94%, and reductions in return rates up to 40% |
| Brand Authority | High-fidelity assets reinforce a professional, polished image—signals your brand takes quality seriously |
| Stronger Engagement | 3D interactivity keeps shoppers engaged—34% interact for 30+ seconds, which deepens buying commitment |
Tip: Outsource a few key assets – your most popular shirt style, a signature fabric, or your logo embroidery. Focus on clean UV mapping and compress textures properly; nobody sticks around for a slow-loading configurator. With top-tier product configurator assets, your shirts don’t just show – they sell.
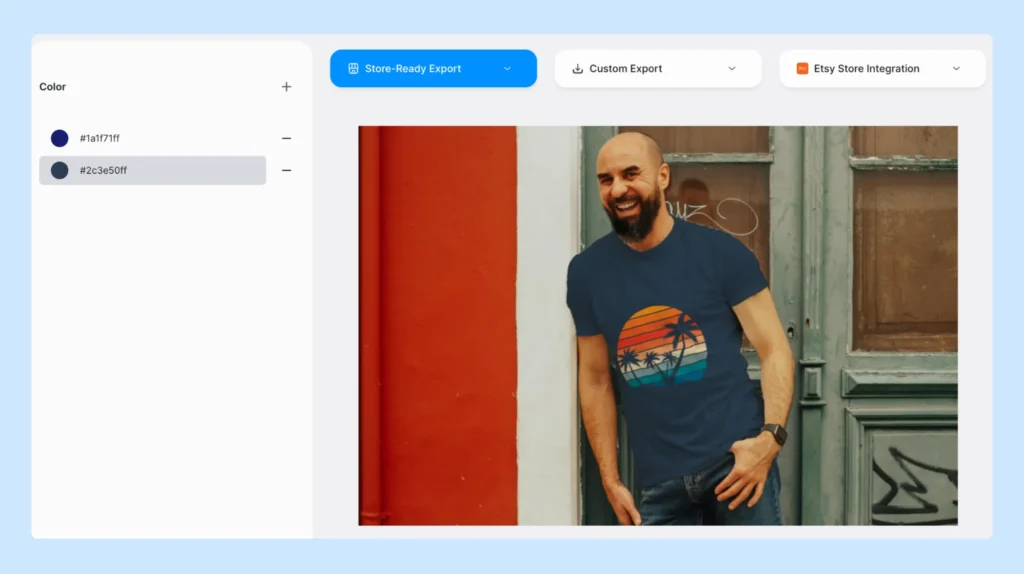
💡 Pro Tip: Dynamic Mockups makes it easy to export your designs in high-resolution PNG, JPG, and WEBP formats – perfect for online stores, social media, or print. With one click, you can download crisp, optimized visuals that retain every detail, ensuring your product images look sharp across all platforms and devices, without any extra formatting or manual resizing.

Preparing Your Shirt Design Elements
Now that your product configurator and assets are in place, it’s time to prep the visual elements that bring your custom shirt options to life. This step is about organizing your digital components – like collars, cuffs, fabrics, and pockets, so they can be layered and rendered cleanly within your WooCommerce product configurator.
Think of it like prepping your kitchen before you start cooking: every ingredient (or in this case, product element) needs to be clean, separated, and ready to go.
Sourcing Transparent Image Layers
For a smooth and realistic visual experience, you’ll need high-quality transparent PNG files for every customizable part of the shirt.
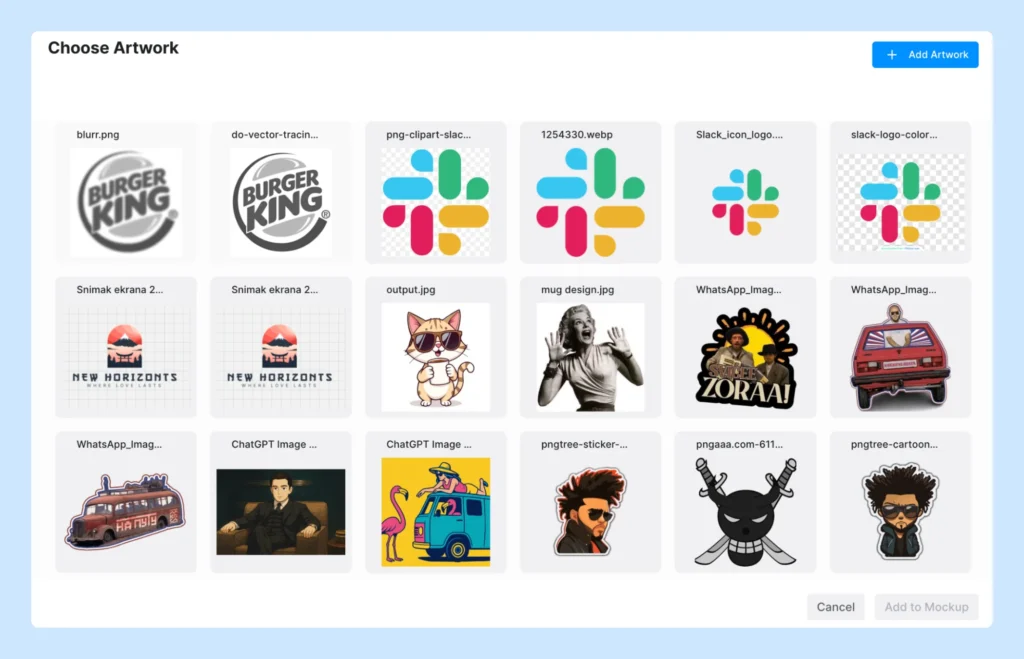
These image layers will stack visually in your configurator, allowing customers to mix and match options without overlap issues or awkward alignment.
| Element | What You Need |
| Collars & Cuffs | Separate PNGs for each style and fabric, with consistent positioning |
| Shirt Body | Base layer in neutral color or default fabric |
| Pockets & Buttons | Transparent overlays to allow optional placement and visibility |
| Monograms & Prints | Vector-based or high-res PNGs to ensure clarity on zoom or large screens |
1. Create a Seamless Customization Palette
Your product configurator is only as good as the options it offers, and nothing matters more in shirt design than fabric and color. This is where customers begin to express their personal style, so accuracy and quality are everything.
2. Build a Fabric & Color Library That Looks (and Feels) Real
You’ll want a clearly organized set of high-resolution fabric swatches and color overlays that reflect real-world materials. But here’s the challenge: what looks good on screen doesn’t always match what’s delivered in the box.
| Asset | Best Practice |
| Fabric Textures | Photograph or render with soft lighting to show weave/pattern clearly |
| Color Swatches | Use digital hex codes based on fabric dye or physical samples |
| Calibration | Use a color calibration tool (like X-Rite or SpyderX) to avoid display inconsistencies |
💡 Pro Tip: Use transparent overlays or “hot zones” to guide users during customization. This reduces confusion and prevents designs that are visually awkward or technically unfeasible.
Build Your Shirt Configurator in WooCommerce
With your store ready and assets prepped, it’s time to bring your WooCommerce visual product configurator to life. This step is where you define exactly what customers can customize and how.
Define Product Components & Variations
Each customizable part of the shirt becomes a component (e.g., sleeve, color, collar). Each option within it is a variation. This step is crucial because it lays the foundation for how your customers will interact with the configurator.
Here’s a simple example of how you might structure your product variations:
| Component | Example Variations |
| Color | Red, Blue, Green, Black |
| Sleeve Length | Short, Long, 3/4 Sleeve |
| Collar Style | Crew Neck, V-Neck, Polo |
| Add-ons | Pocket, Monogram, Logo placement |
Set Up Dynamic Pricing Rules
Make customization profitable and transparent. Custom products come with variable costs, and your pricing should reflect that. For example, you can add a surcharge for premium fabrics or large prints, or offer a small discount for standard, easy-to-stock materials.
This isn’t just about covering costs, it’s also a smart way to guide customer behavior. Want to encourage more purchases of your standard fabric? Offer a small discount to incentivize it. Just make sure every price change is visible in real time, no one likes surprise fees at checkout.
Implement Conditional Logic
Conditional logic helps your configurator feel smart. It dynamically shows or hides options based on previous selections, so customers only see relevant choices. If someone picks a specific fabric, show only the colors available in that material.
If they go for a long-sleeved design, unlock matching cuff styles. This keeps things clean, avoids incompatible selections, and makes the whole process feel more professional.
It’s like quietly guiding your customer through the process, helping them build a shirt that looks great and makes sense to produce.
💡 Pro Tip: Use dynamic pricing and conditional logic together to create a smoother, smarter shopping experience. For example, automatically apply a surcharge only when a customer selects a premium fabric and adds a monogram, while hiding incompatible options along the way. This not only keeps your pricing transparent, but also prevents design errors and boosts buyer confidence.
Integrate the Configurator with Your WooCommerce Store
Connect the Configurator Plugin
You’ve built the configurator, now make it functional inside WooCommerce.
Here’s how to do it right, without wasting time:
1. Connect Your Plugin to WooCommerce
Install → Activate → Sync. Most top plugins walk you through setup and link via an API key.
Don’t skip their documentation, that’s where 90% of issues get solved before they start.
Note: Use a plugin that auto-syncs products and variants to WooCommerce. Saves hours and avoids data mismatches.
💡 Pro Tip: Dynamic Mockups offers both a native WooCommerce plugin for seamless store integration and API access for more advanced workflows.
It automatically syncs product variants and mockup previews, saving hours on manual setup and eliminating data mismatches between your configurator and storefront.
2. Embed the Design Tool Where It Converts
Use the plugin’s shortcode or block to embed the configurator directly on the product page, right near your “Add to Cart” button.
Visibility = usage.
3. Make the UX Feel Effortless
- Check mobile responsiveness on multiple devices
- Use clear CTAs: “Customize Your Shirt,” not “Start”
- Optimize asset sizes so the tool loads in seconds
- Walk through it like a customer—from homepage to checkout
🧠 Reminder: A configurator only adds value if it’s easy to find, fast to load, and enjoyable to use.
Ultimately, integrating your shirt configurator is about making the customization process as easy and enjoyable as possible for your customers. A well-integrated configurator can lead to increased sales and happier customers. And that’s what it’s all about, right?
Enhance the Shirt Customization Journey
Okay, so you’ve got the basics down. Now it’s time to really make your custom shirt configurator shine. We’re talking about adding those extra features that will keep customers engaged and coming back for more. It’s about going beyond just the basic options and giving them the power to truly design something unique.
1. Allow Text and Logo Uploads
Let’s be real, people love to personalize things. Giving customers the ability to add their own text or logos is a huge win. Think about it: monograms, inside jokes, company logos – the possibilities are endless. Make sure the upload process is smooth and easy to use. Nobody wants to struggle with clunky interfaces or file size limits. Consider these points:
- Offer a variety of font styles and sizes for text.
- Allow customers to position and resize their uploads.
- Provide a preview of how the text or logo will look on the shirt.
2. Offer Diverse Design Choices
Don’t limit your customers to just a few basic options. The more choices they have, the more likely they are to find something they love. Expand your selection of fabrics, colors, patterns, and design elements. Think about seasonal trends and offer limited-edition options to keep things fresh. Here’s a few ideas:
- Introduce new fabric textures regularly.
- Add a wider range of collar and cuff styles.
- Incorporate unique button designs and placement options.
3. Provide Instant Visual Previews
This is where the magic happens. Customers need to see how their choices affect the final product in real-time. Instant visual previews are key to building confidence and driving sales. Make sure your configurator updates quickly and accurately as customers make changes. A delay or glitchy preview can kill the whole experience. Consider these points:
- Use high-quality 3D models for realistic previews.
- Ensure the preview updates instantly with each selection.
- Allow customers to zoom in and rotate the shirt for a closer look.
Think of your shirt configurator as more than just a sales tool. It’s a creative playground where customers can bring their ideas to life. The more fun and engaging you make the experience, the more likely they are to buy and become loyal fans.
Launch and Optimize Your Custom Shirt Sales
Okay, you’ve built this awesome shirt configurator. Now it’s time to get it out there and make some sales! But launching is just the beginning. You need to keep an eye on things and make adjustments to really maximize your success. It’s all about testing, promoting, and understanding what your customers are actually doing with your design tool.
1. Test the Full Customer Journey
Before promoting anything, test the entire flow yourself – on desktop, tablet, and mobile. Go from the homepage to checkout like a real buyer.
- Does the configurator load fast and work without glitches?
- Are all options selectable and priced correctly?
- Is the experience intuitive from customization to purchase?
Catch bugs, design friction, or confusing steps before your customers do. It’s the difference between a conversion and an abandoned cart.
2. Promote the Customization Experience
Don’t assume people will find your configurator. Promote it like a product feature. Your edge is personalization, make that clear everywhere.
- Use video: a 30–60 second demo builds instant confidence.
- Highlight it on your homepage, product pages, and banners.
- Run campaigns: offer early-bird discounts, launch contests, or showcase featured customer designs.
- Add clear, visual product descriptions that explain how customization works and show off real examples.
💡 Pro Tip: Treat your configurator like a standalone product launch. Give it the attention it deserves, and it can become the core of your brand.
3. Analyze Customer Design Trends
Once you start getting sales, pay attention to what your customers are designing. What fabric colors are most popular? Are there any design elements that are consistently chosen?
This data can give you valuable insights into customer preferences and help you make informed decisions about your product offerings.
For example, if you notice a surge in demand for a particular color, you might want to stock up on that fabric. Or, if a certain design element is consistently underutilized, you might consider removing it or replacing it with something more appealing.
Understanding these trends is key to optimizing your product selection and marketing efforts.
Keep a close watch on your sales data and customer feedback. This will help you identify areas for improvement and ensure that your custom shirt business continues to grow. Don’t be afraid to experiment with new options and features, but always base your decisions on data and customer insights.
Here’s a simple table to track your best-selling options:
| Fabric Color | Collar Style | Cuff Style | Times Chosen |
| Navy Blue | Button-Down | Rounded | 125 |
| Light Gray | Spread | Square | 98 |
| White | Band | Angled | 72 |
And here’s a list of things to consider:
- Gather customer feedback through surveys or reviews.
- Track conversion rates to see how many visitors become paying customers.
- Monitor abandoned cart rates to identify potential pain points in the checkout process.
Wrapping Things Up
So, we’ve gone through all the steps to get your custom shirt configurator up and running on WooCommerce. It might seem like a lot at first, but once you get the hang of it, it’s pretty straightforward. Giving your customers the chance to design their own shirts isn’t just a nice extra; it really changes how they shop.
People love making things their own, and this tool lets them do exactly that. It makes buying shirts more fun and personal. Plus, for your business, it means happier customers and, hopefully, more sales. You’re not just selling a shirt; you’re selling an experience. It’s a good way to stand out.
Ready to launch your own live product configurator?
Sign up for Dynamic Mockups, connect your WooCommerce store, and start offering fully personalized shopping experiences in minutes.
Frequently Asked Questions
What exactly is a product configurator?
A product configurator is a special online tool that lets your customers design and customize products right on your website. Instead of just picking from ready-made items, they can choose different parts, colors, and features to create something unique. They get to see their design change in real-time as they make choices.
Why is a product configurator good for selling custom shirts?
Using a product configurator for custom shirts makes the buying process much easier and more fun for your customers. They can clearly see what their shirt will look like before they buy it, which leads to fewer mistakes and happier shoppers. For your business, it means you’ll answer fewer questions and make sales faster, because customers can do most of the design work themselves.
What main tools do I need to set this up?
To get started, you’ll need three main things. First, an online store system like WooCommerce. Second, a powerful product configurator program that works well with WooCommerce. And third, high-quality images or 3D models of all your shirt parts so customers can clearly see their custom designs.
How do people actually design their shirts with this tool?
Customers design their shirts by selecting different options for parts like the fabric, color, collar style, and cuffs. They might also be able to add their own text or pictures. As they pick choices, the shirt on their screen changes right away, showing them exactly how their custom design is coming together.
Is it tough to link the shirt design tool to my WooCommerce store?
No, it’s usually quite simple. You’ll typically use a special plugin or app that connects directly to your WooCommerce store. Once it’s linked up, the design tool will appear on your product page, making it easy for customers to start designing without having to leave your shop.
Can customers put their own photos or text on the shirts?
Yes, many product configurators allow customers to upload their own images, like a company logo or a personal photo. They can also type in custom text, pick different fonts, and choose colors for the text. This helps them create a truly one-of-a-kind shirt.